Introduction
OpenShift is a large and complicated piece of software that by nature involves multiple systems. The dci-openshift-agent is written to help test this but it itself is also large and complicated. It became pretty clear early on that we needed a way to test the test code. With multiple developers and with so many different ways to configure and deploy OpenShift it is imperitive that we have a reproducible way to test the agent.
The DCI openshift agent code is developed under a gerrit repository which is hosted at softwarefactory-project.io. You can see all the open pull requests for the dci-openshift-agent. Partner or site specific configs and hooks are typically hosted under that organizations Github account.
Automatic checks
Everytime you push a review to gerrit for either the dci-openshift-agent or the dci-openshift-app-agent it will trigger an automated check. The default check will test your change in a virtualized environment using the default IPI install type. Depending on how many other reviews are in process it may be a while before your review is tested. You will know your review is currently running when you see this comment from the dci-ci-bot:

After the test completes there will be an additional comment stating if the CI job was Successful or Failed. For both Success and Failure you will normally have a link to the job execution in DCI. This will allow you to investigate the results in more detail if the job failed or you simply want to look closer at the results.

The exception to this is if the CI job fails in the pre-run stage. This means we had a failure before we even schduled the job in the DCI control server. For these failures you will need to contact the DCI team to get access to the logs to investigate further.

Voting
All of the jobs executed from the ci environment are voting in gerrit. You will need a +1 from dci-ci-bot in order to merge your review. Failures will vote -1.
Manual checks
You can manually run dci-check-change as well. If the change can only be tested in a specific lab, you can verify the change using the lab specific context (config and/or hardware). You may also want to run the pull request in your devel environment. This is especially handy if your change doesn't work as expected since you will still have the environment for inspection.
Setting up a virtual devel environment is covered by this blog post Setting up a virtual development environment for OCP agent.
When running manually dci-check-change will use the inventory and settings from /etc/dci-openshift-agent. You should verify that your environment works using the regular dci-openshift-agent-ctl first.
# su - dci-openshift-agent
% dci-check-change 24446
This will look for PR 24446 from gerrit and check out the changeset locally and run using your local inventory and settings.
Hints
We mentioned in the Introduction that there are multiple ways to install OpenShift and the dci-openshift-agent supports some of these. It can be helpful to provide a hint in your review that lets the CI system know to use a different install type. For example, if your change pertains to SNO then it makes sense to set Test-Hints to SNO. This way that install type will be used and your code changes will get covered.
Here is an example of setting multiple hints, Test-Hints, Args and Dependencies from both Gerrit and Github.
An example commit message with hints.
Initial work for supporting Assisted Installer

Test-Hints: assisted
Test-Args: -i alternate_inventory.yml
Depends-On: 123423
Depends-on: https://github.com/dci-labs/example-cnf-config/pull/24
You can also tell the automated CI to ignore your pull request if it's not ready for testing yet.
Test-Hints: no-check
See the Development docs for all the hints that are supported
Testing Lab Inventory Changes
It's a good idea to have your lab configuration stored in a Github repository. This is good practice if you ever need to recreate the lab. It also makes it easier to share configs with the DCI team, which can help with debugging issues. Another advantage is you can CI your own changes to make sure you haven't broken your lab.
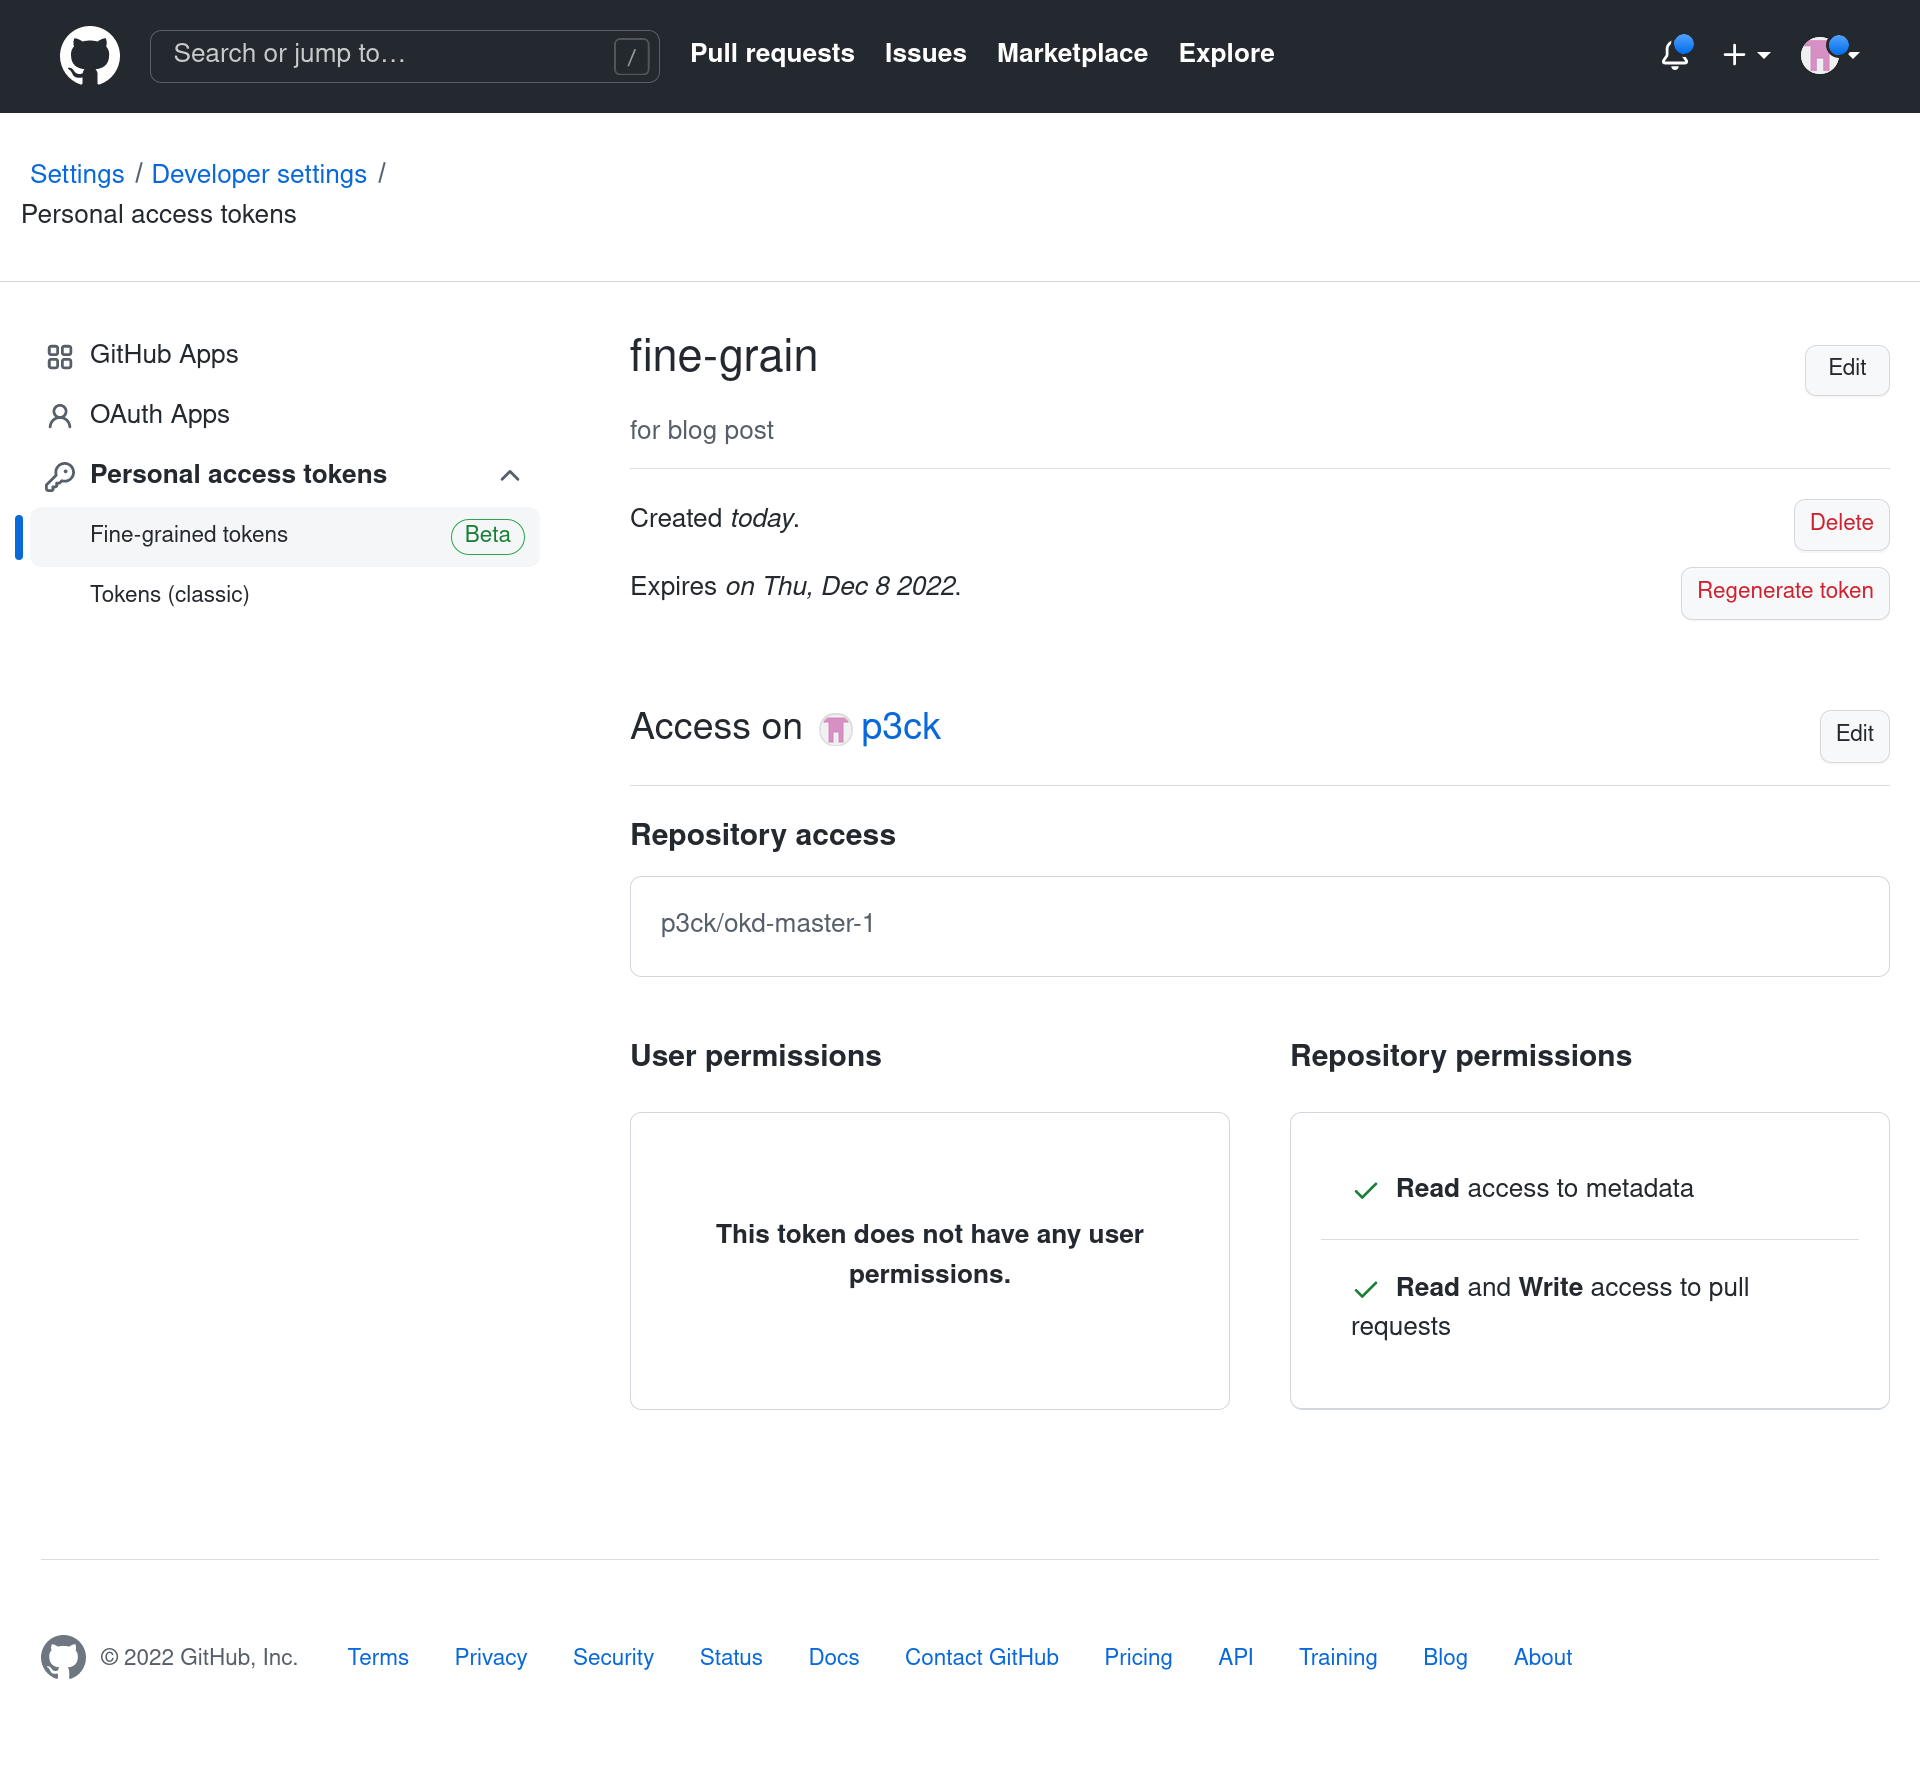
First thing you will want to do is create a Github token. This token should have permission to clone your repo and be able to comment on your pull request. You can visit the following link to create your own token. There are two different kinds of tokens. fine-grained tokens and tokens (classic). If you choose the fine-grained version you will need to select your repo and give read/write access to pull requests.
Put your git login and token in the config file here:
# sudo vi /etc/dci-openshift-agent/config
GITHUB_LOGIN=p3ck
GITHUB_TOKEN=thisisnotreal
First step is to create a git repo on Github which will store your labs config entries. Second is to clone that repo on your jumpbox. In this example we will clone the repo into the /opt directory.
% cd /opt
% . /etc/dci-openshift-agent/config
% git clone https://$GITHUB_LOGIN:$GITHUB_TOKEN@github.com/p3ck/okd-master-1.git
You should start with a working config in this repo. I have the following in my repo:
hooks/ hosts LICENSE README.md settings.yml
You will need to update your /etc/dci-openshift-agent/config to point to this config directory. The variable CONFIG_DIR will tell both dci-openshift-agent-ctl and dci-check-change where to find it.
# sudo vi /etc/dci-openshift-agent/config
CONFIG_DIR=/opt/okd-master-1
Use dci-openshift-agent-ctl to verify your config works as expected. Once verified you can commit and push this repo to Github.
Any subsequent changes should be done via git pull requests. Clone the git repo somewhere other then where CONFIG_DIR is pointing to. This is where you will make changes that need to be tested. My workflow that I find works well is to do a git pull to make sure I have the latest updates from upstream. Then create a new test branch. For this example we are going to switch from using IPI installs to Assisted installs. Once I have committed the changes I will push the branch upstream:
% git push origin assisted:assisted
Total 0 (delta 0), reused 0 (delta 0), pack-reused 0
remote:
remote: Create a pull request for 'assisted' on GitHub by visiting:
remote:      https://github.com/p3ck/okd-master-1/pull/new/assisted
remote:
To github.com:p3ck/okd-master-1.git
 * [new branch]      assisted -> assisted
The git push to Github tells you how to create a pull request, simply follow the link mentioned to finish the pull request.
Once the pull request is created you will get a pull request number. To test your change with dci-check-change you simply pass the url to your pull request.
% dci-check-change https://github.com/p3ck/okd-master-1/pull/1
Remember to update your repo once your PR has passed and merged into your main branch.
Summary
I hope this blog entry will help you get the most out of the CI system. Giving you confidence in your code changes and being able to easily test large potentially breaking code changes. Having the flexibility to manually trigger the same CI run in your development or partners environment will give you high confidence that it will pass.
